27/11/2025
Via privata Molina 80/7 – 80/9, Vignate (MI)
02 95361055
info@fitex.it
Changing the presser foot on a Singer sewing machine may seem like a simple task, but it actually requires great attention to detail and the provision of some essential tools to ensure that the process is done correctly. In this article, we will guide you step by step to the correct presser foot replacement for your Singer model sewing machine.
Before you begin, it is essential to have everything you need on hand to avoid interruptions during your work. First, you need to purchase a presser foot compatible with the specific model of your Singer sewing machine. In fact, presser feet can vary significantly depending on the model and the desired function, so we recommend consulting the machine’s manual or the manufacturer’s website to check the compatibility of the component.
If the presser foot is attached to the machine with screws, a screwdriver of the right size will be essential. More modern models have a quick-release mechanism that simplifies the process, but older or more professional models may require the use of a screwdriver to remove and install the presser foot. In general, we recommend using the screwdriver that came with the sewing machine, as it is designed to fit snugly over the machine’s screws.
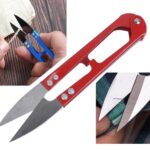
In addition, since you are handling small components, it can be very useful to have a pair of tweezers, which allow you to firmly grasp and precisely position screws without risking losing them. To help with the replacement process, it is very important to work with good lighting: a desk lamp or work light with a flexible arm can be positioned to illuminate the work area without creating annoying shadows.
Finally, be sure to have a soft cloth or piece of cloth handy to clean the foot area before installing the new one. Dust, thread residue, and oil can build up over time, and thorough cleaning will help keep the new presser foot working properly.
Removing the Singer sewing machine presser foot is a process that requires a series of precise steps to ensure that the process is carried out correctly and safely. Therefore, first of all, it is essential to ensure that the machine is turned off and unplugged from the power outlet, so as to eliminate any risk of accident. Next:
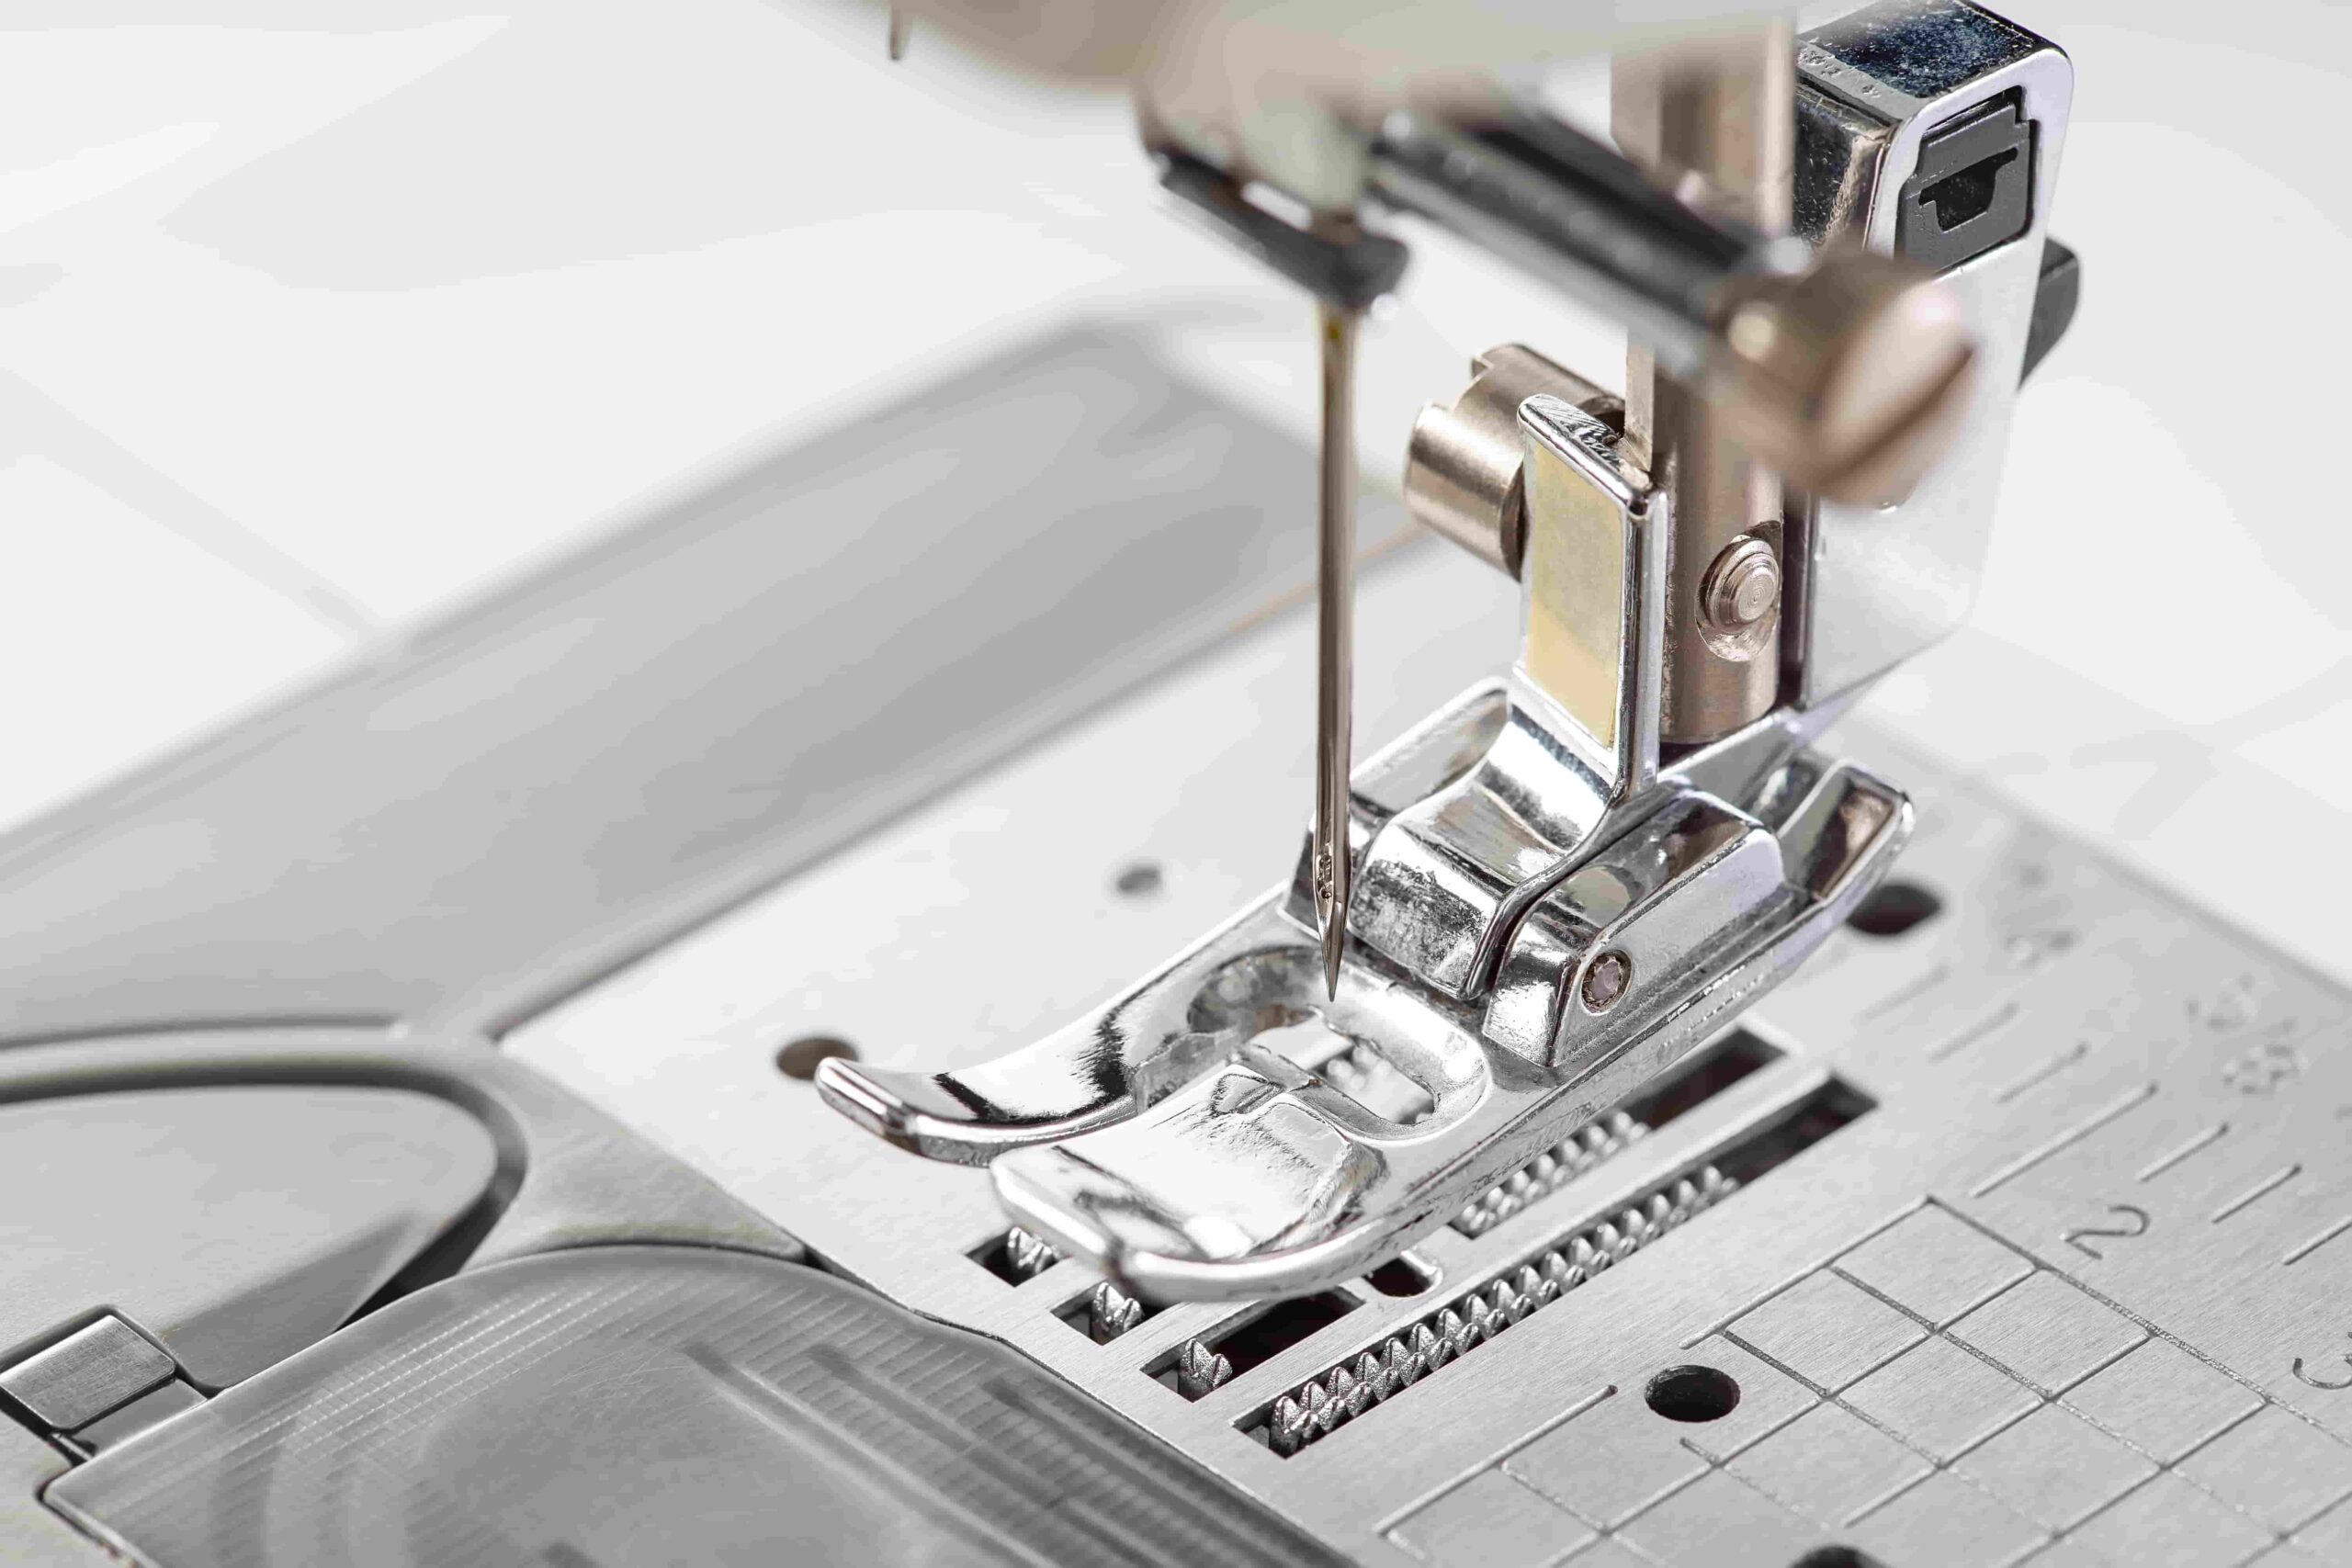
– Raise the needle to its highest position. This can be done using the manual adjustment knob, usually located on the right side of the machine. Raising the needle makes it easier to remove the presser foot and prevents any damage to the needle or the presser foot itself during the process.
– Raise the presser foot using the appropriate lever. It is generally located on the back of the presser foot bar. This gives you better access to the presser foot retaining screw or quick release mechanism.
– Locate the foot retaining screw, i.e., the one that holds it in place on the presser foot bar, and use the screwdriver to loosen it. If your sewing machine is equipped with a quick-release mechanism, you will obviously not need to use a screwdriver, but just press or pull the mechanism to release the presser foot.
With the screw loose or the snap mechanism released, the presser foot should easily slide out of the presser foot bar. If the presser foot is stuck, you need to check again that the screw is completely loose or the snap mechanism is completely released. Once the old presser foot has been removed, it is a good practice to clean the surrounding area with a soft cloth to remove any residual material that may have accumulated over time.
Before installing the new presser foot, a visual check about the condition of the old component may be useful, to find any signs of wear or damage that may have caused some problems during stitching. This will help to see if there are other areas of the machine that might need maintenance.
As a first step, you take the new presser foot and place it under the bar with the front facing yourself. If your sewing machine is equipped with a quick release mechanism, you should align the presser foot under the mechanism and slowly lower the presser foot lever until you hear the click indicating that the presser foot is secured in place. To make sure the is securely fastened, you must pull lightly on the presser foot to make sure it does not move.
For sewing machine models that require screws, align the presser foot with the presser foot bar and insert and tighten the securing screw using the screwdriver. It is important not to overtighten the screw to avoid damaging the presser foot or the bar. After securing, you need to lower and raise the presser foot lever a couple of times to make sure it can move freely and is properly aligned.
Next, check that the needle moves freely through the presser foot hole without touching the sides. This step is critical to ensure that the presser foot is properly centered and that the needle is not damaged while sewing. If the needle should touch the presser foot, loosen the retaining screw slightly and reposition the presser foot until it is perfectly aligned.
Once the new presser foot is installed, perform a test sewing on a piece of fabric to check that everything is working properly. During the test sewing, pay attention to thread tension and stitch quality. If problems are found, such as uneven stitches or thread breaking, you may need to adjust the thread tension or recheck the alignment of the presser foot.
A final useful tip is to always keep a set of spare presser feet so that you can immediately replace them if they are worn or damaged without interrupting your sewing work. Also, using different types of presser feet can be a good way to experiment, trying your hand at different projects and enriching your sewing skills.
If any doubts still remain, we recommend you to rely on experts in the field who can give you more information about it and, above all, know how to recommend the correct spare parts at a fair price.
In this regard, if you are looking for a quality presser foot for your Singer sewing machine, do not hesitate to contact Fitex, a company that has specialized for almost half a century in the trade and production of spare parts, mechanical parts, accessories and complex solutions for the textile industry.
Backed by experience gained over many decades and an assorted warehouse that can boast more than 50 thousand pieces, we are able to guarantee you all the specialized assistance you need and prompt shipment of your order.
Andrea Ferroli
Nadia Leonarduzzi


Every day, a promotion on an item we have in stock: join our mailing list and take advantage of the benefits!
Already know which item you need?
Order it directly from our app, available for Android and iOS.